DIY Tips for Installing Electronic Components Safely
Safety First: Preparing Your Workspace
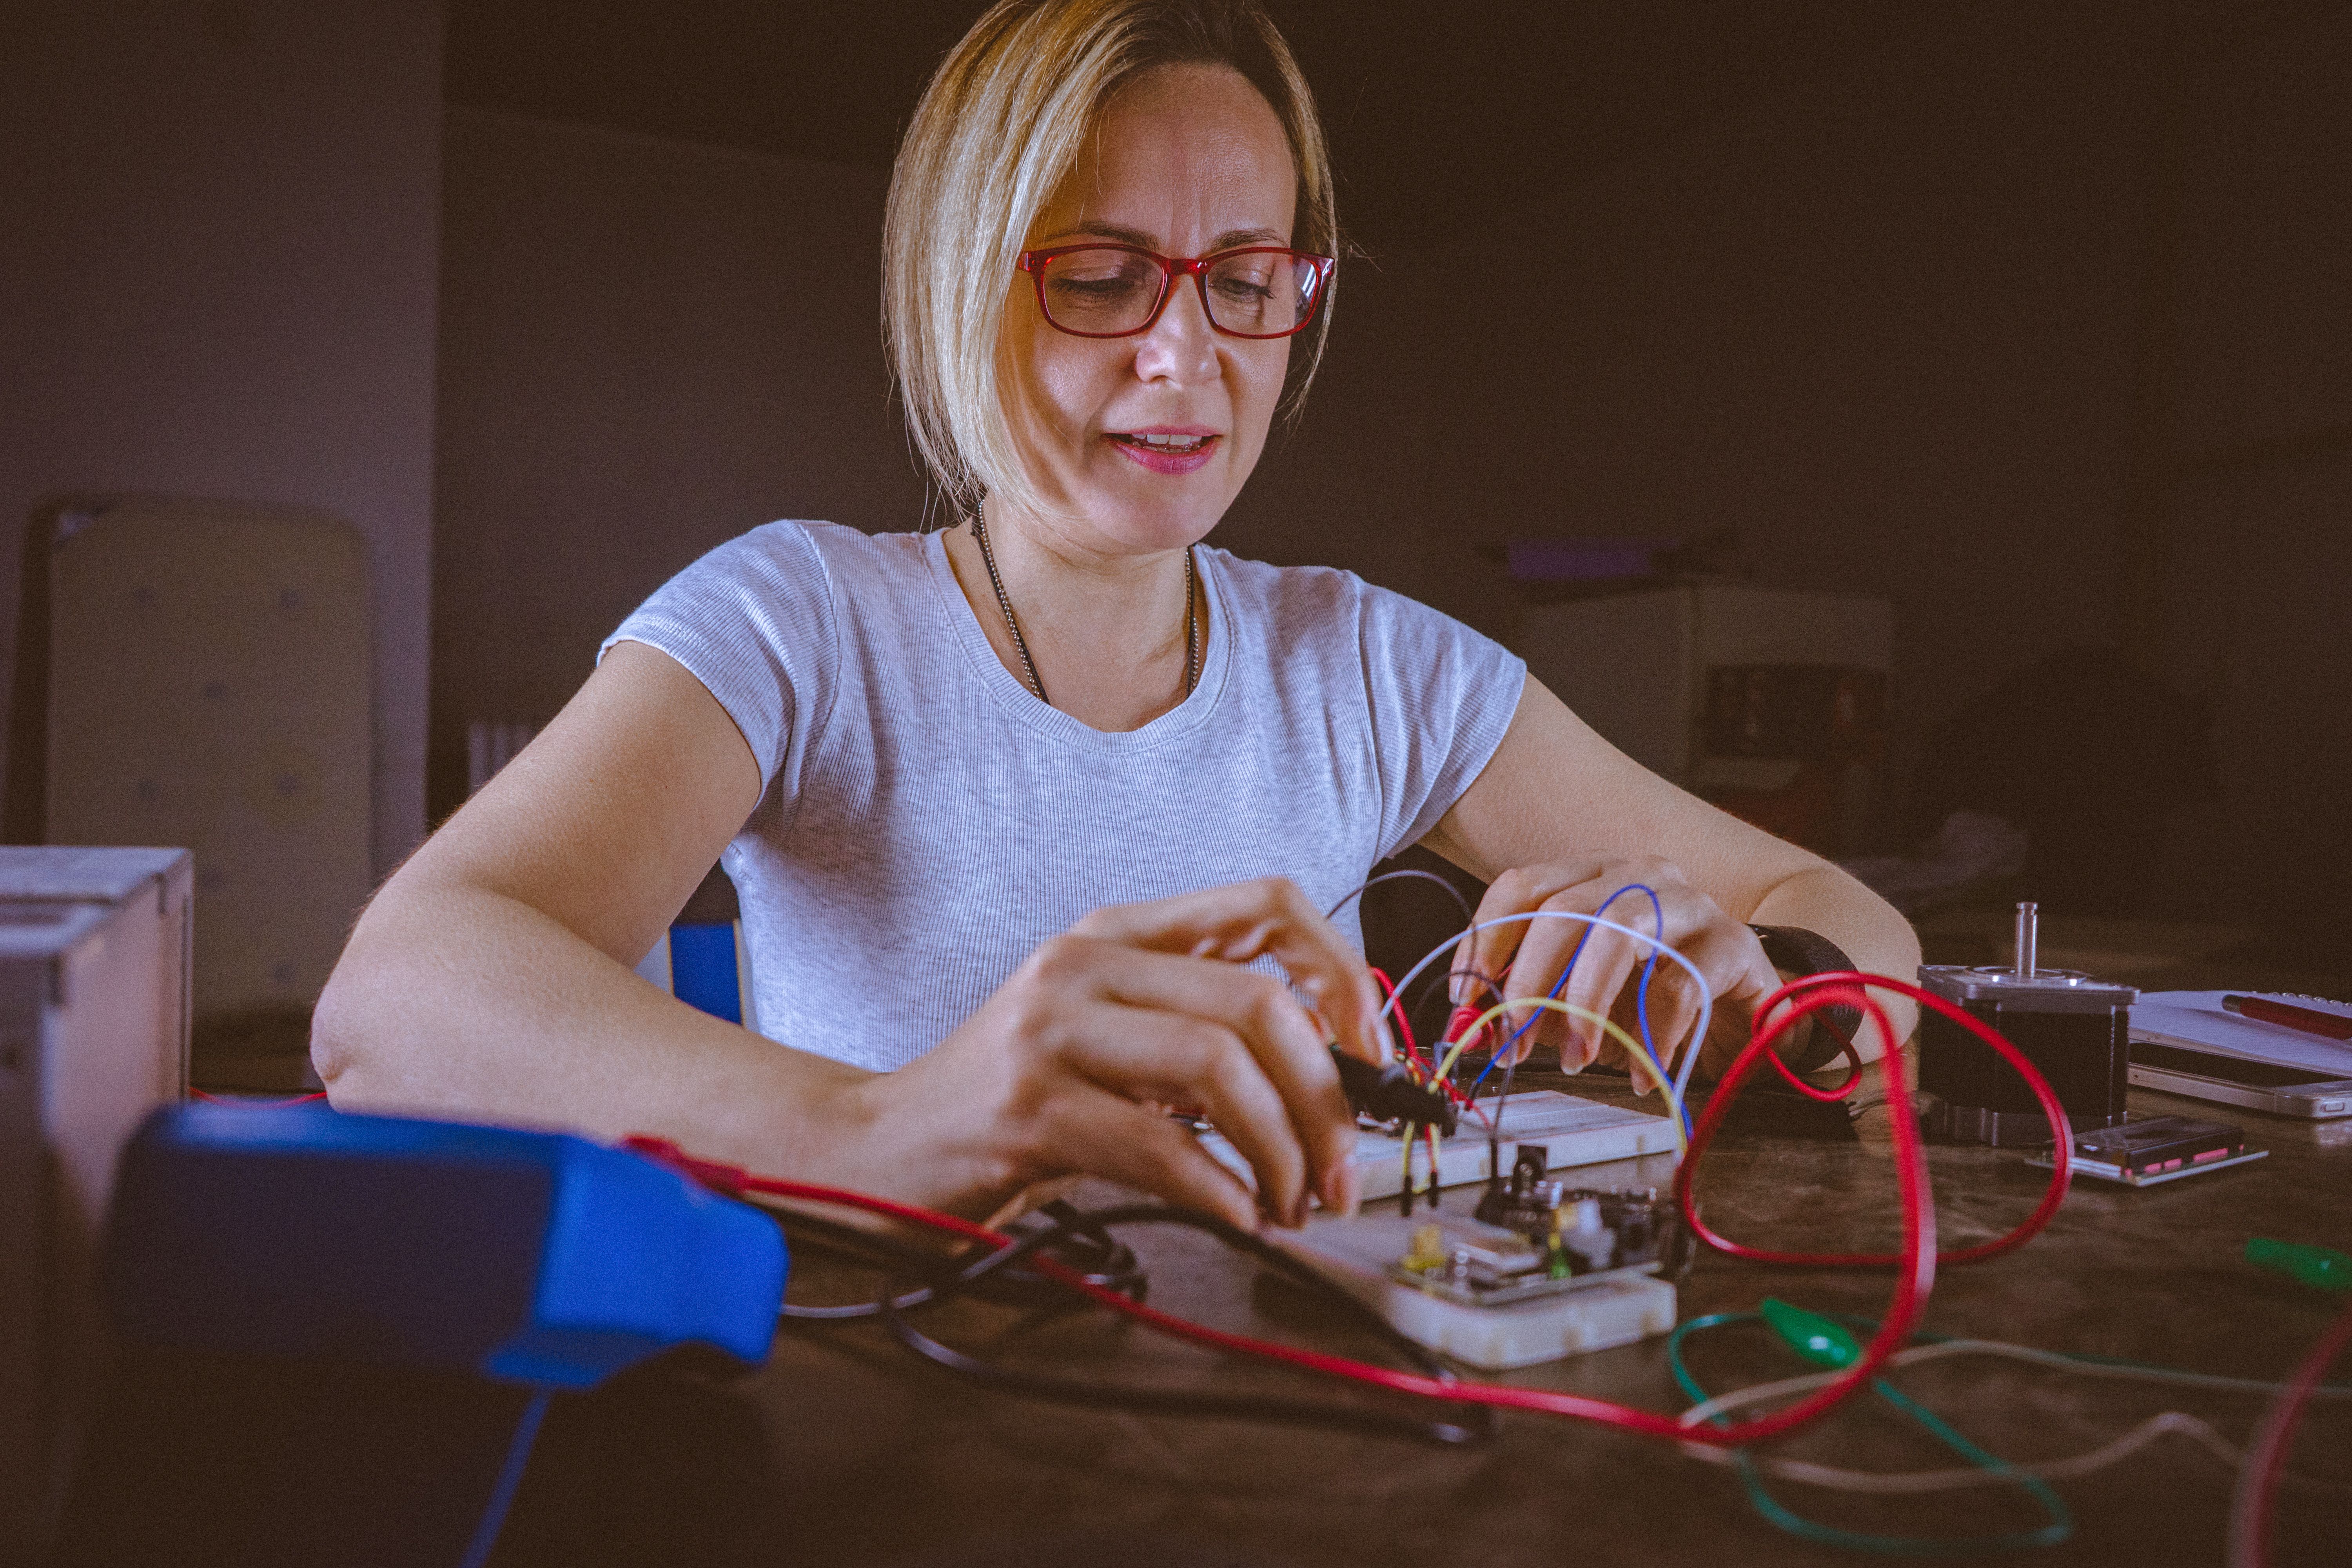
Before diving into the world of electronics, it's crucial to ensure your workspace is safe and well-organized. A clutter-free area reduces the risk of accidents and makes it easier to find tools and components. Ensure your workbench is sturdy and large enough to accommodate your project.
Good lighting is essential for precision work. Consider using a desk lamp with an adjustable arm to focus light exactly where you need it. Additionally, wear protective eyewear to guard against accidental splashes or debris.

Gathering the Right Tools
Having the right tools on hand is vital for a successful DIY electronics project. Basic tools include a soldering iron, wire cutters, and a multimeter. These are essential for most projects and will ensure you can handle various tasks efficiently.
For more advanced projects, consider investing in a heat gun, desoldering pump, and precision screwdrivers. These tools will allow you to tackle complex components with ease and accuracy.
Understanding Electronic Components
Before you begin, familiarize yourself with the components you'll be working with. Common electronic components include resistors, capacitors, diodes, and transistors. Each has a specific function and must be installed correctly to ensure your project works as intended.
Understanding the color codes and symbols associated with these components will help prevent mistakes. Keep a reference guide handy or use online resources to decode these symbols quickly.
Safe Handling and Storage
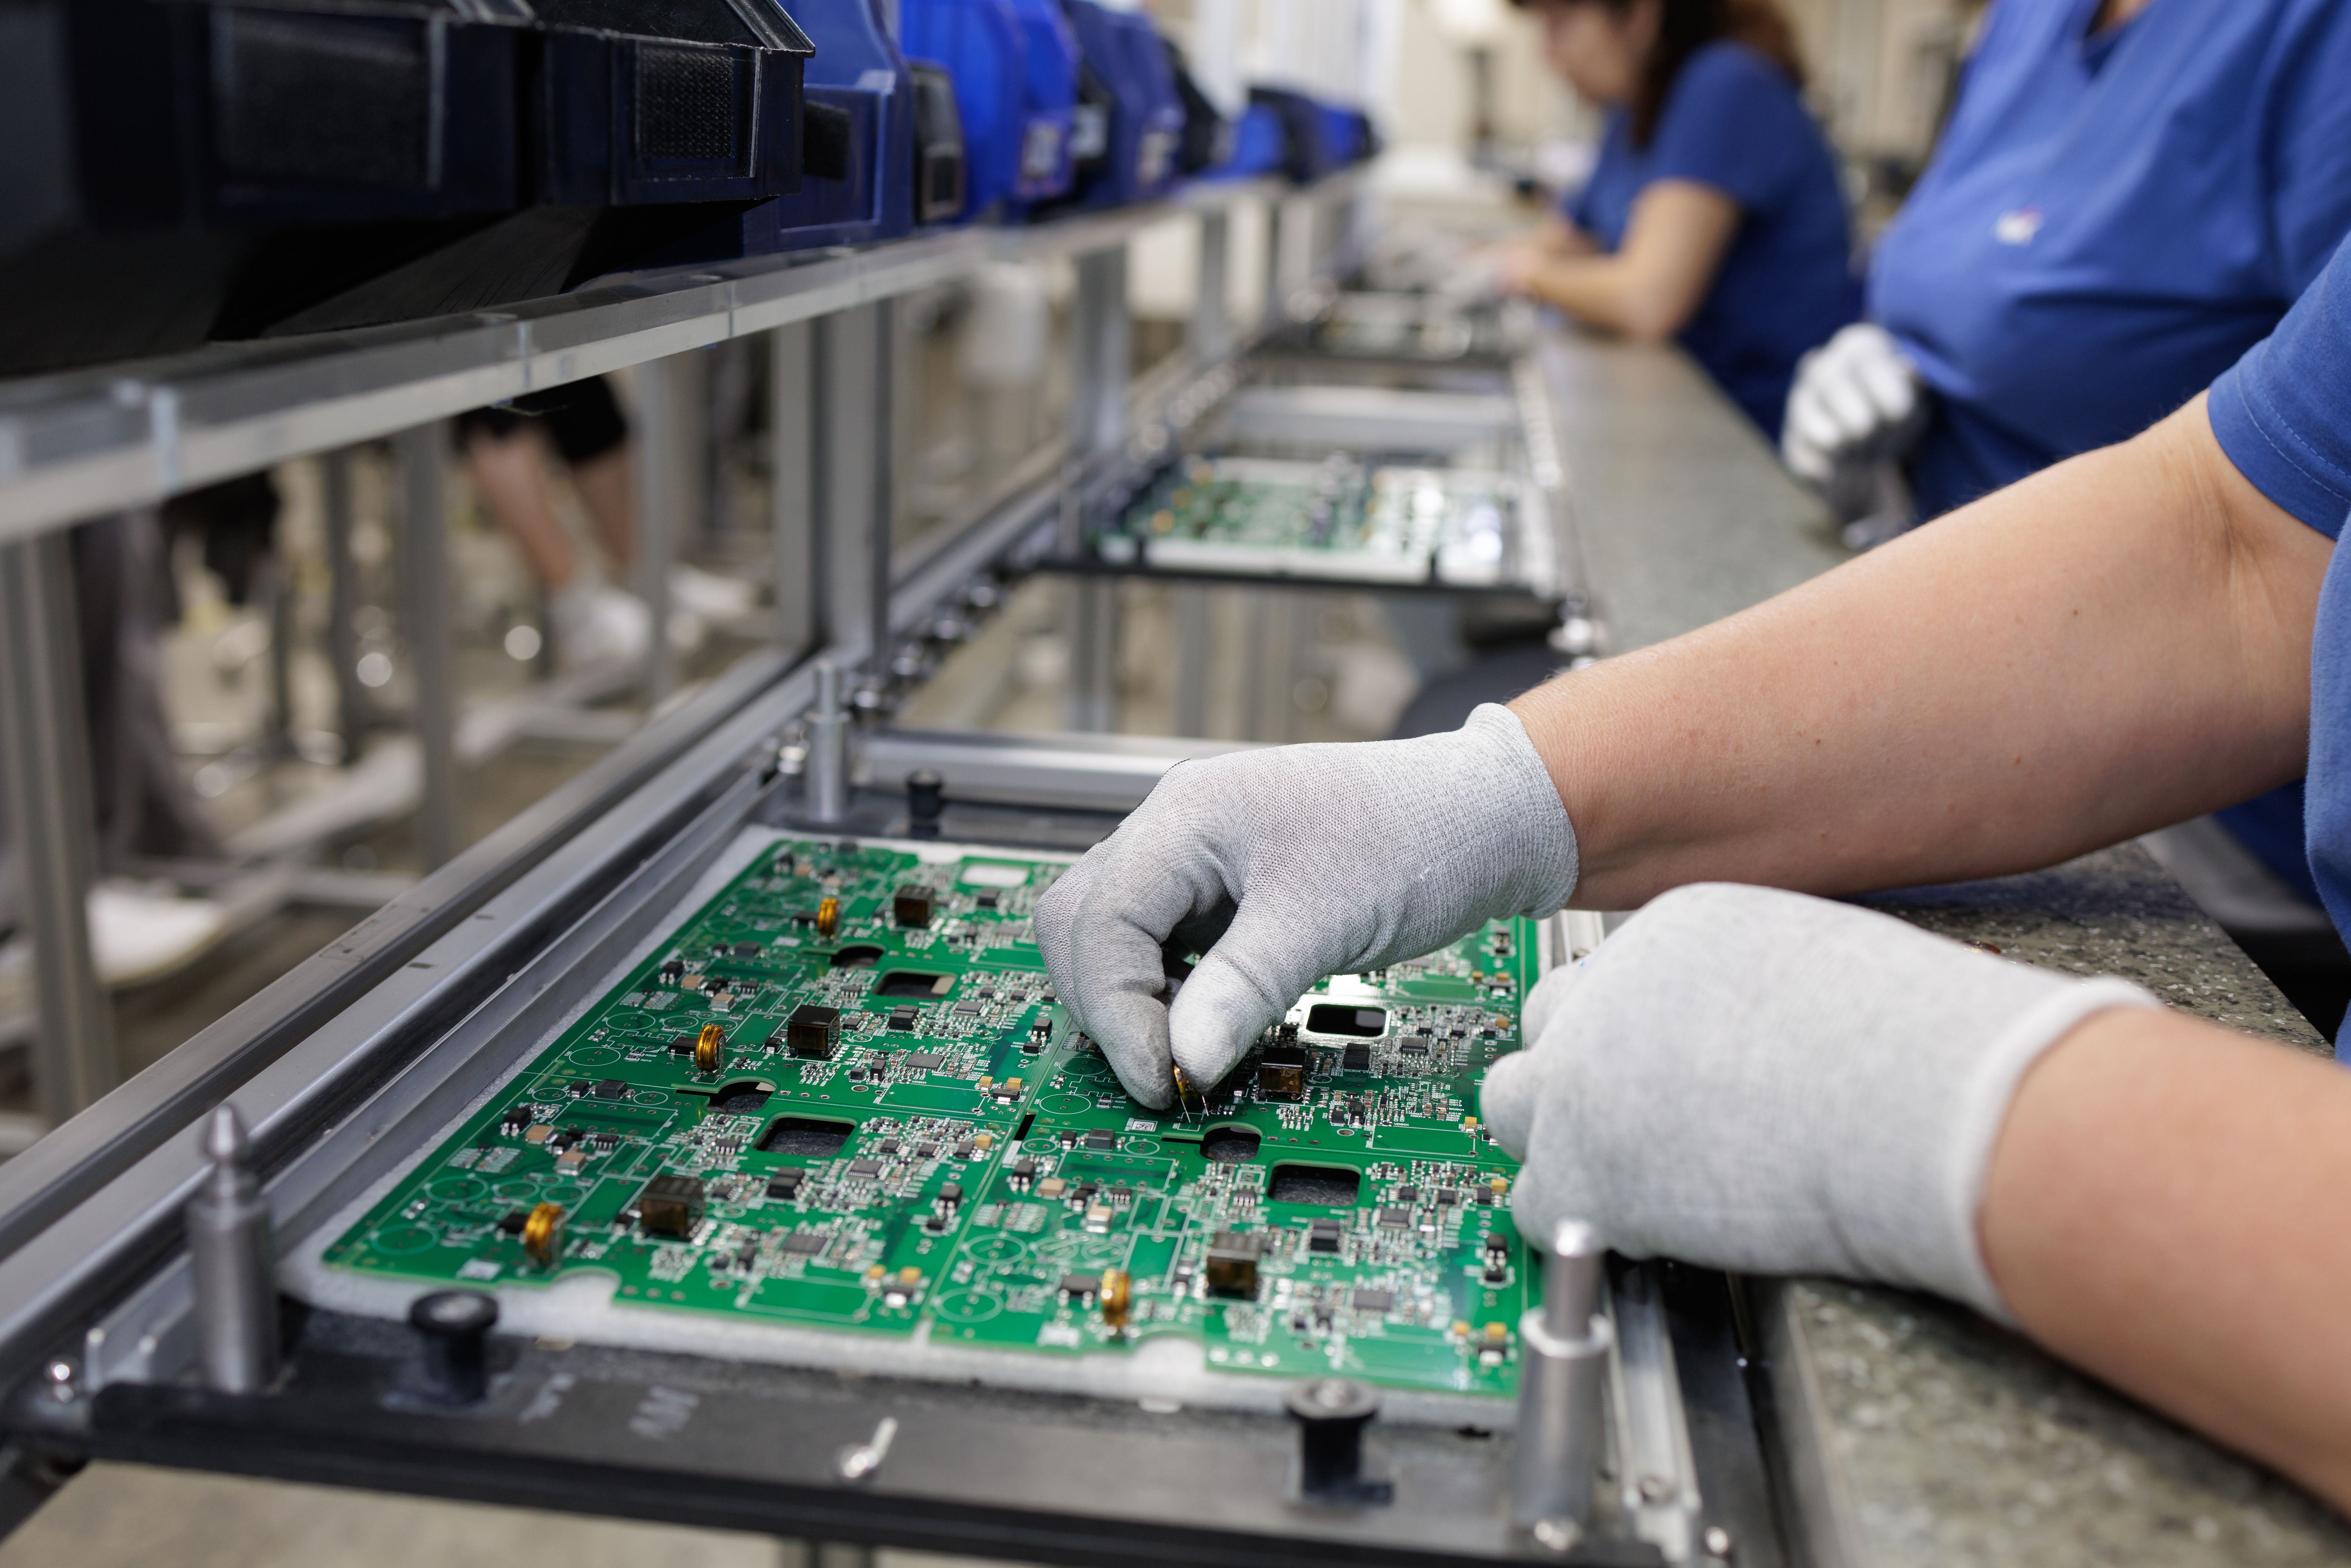
Electronic components can be delicate and are often sensitive to static electricity. To prevent damage, ground yourself before handling components by touching a metal object. This simple step can save you from costly mistakes.
Store components in anti-static bags and organize them in labeled containers. This practice not only protects the components but also makes it easier to find what you need when working on a project.
Step-by-Step Installation
When installing components, follow a systematic approach to minimize errors. Start by laying out all components and tools you will need. Double-check your circuit diagram to ensure you understand the connections and placements.
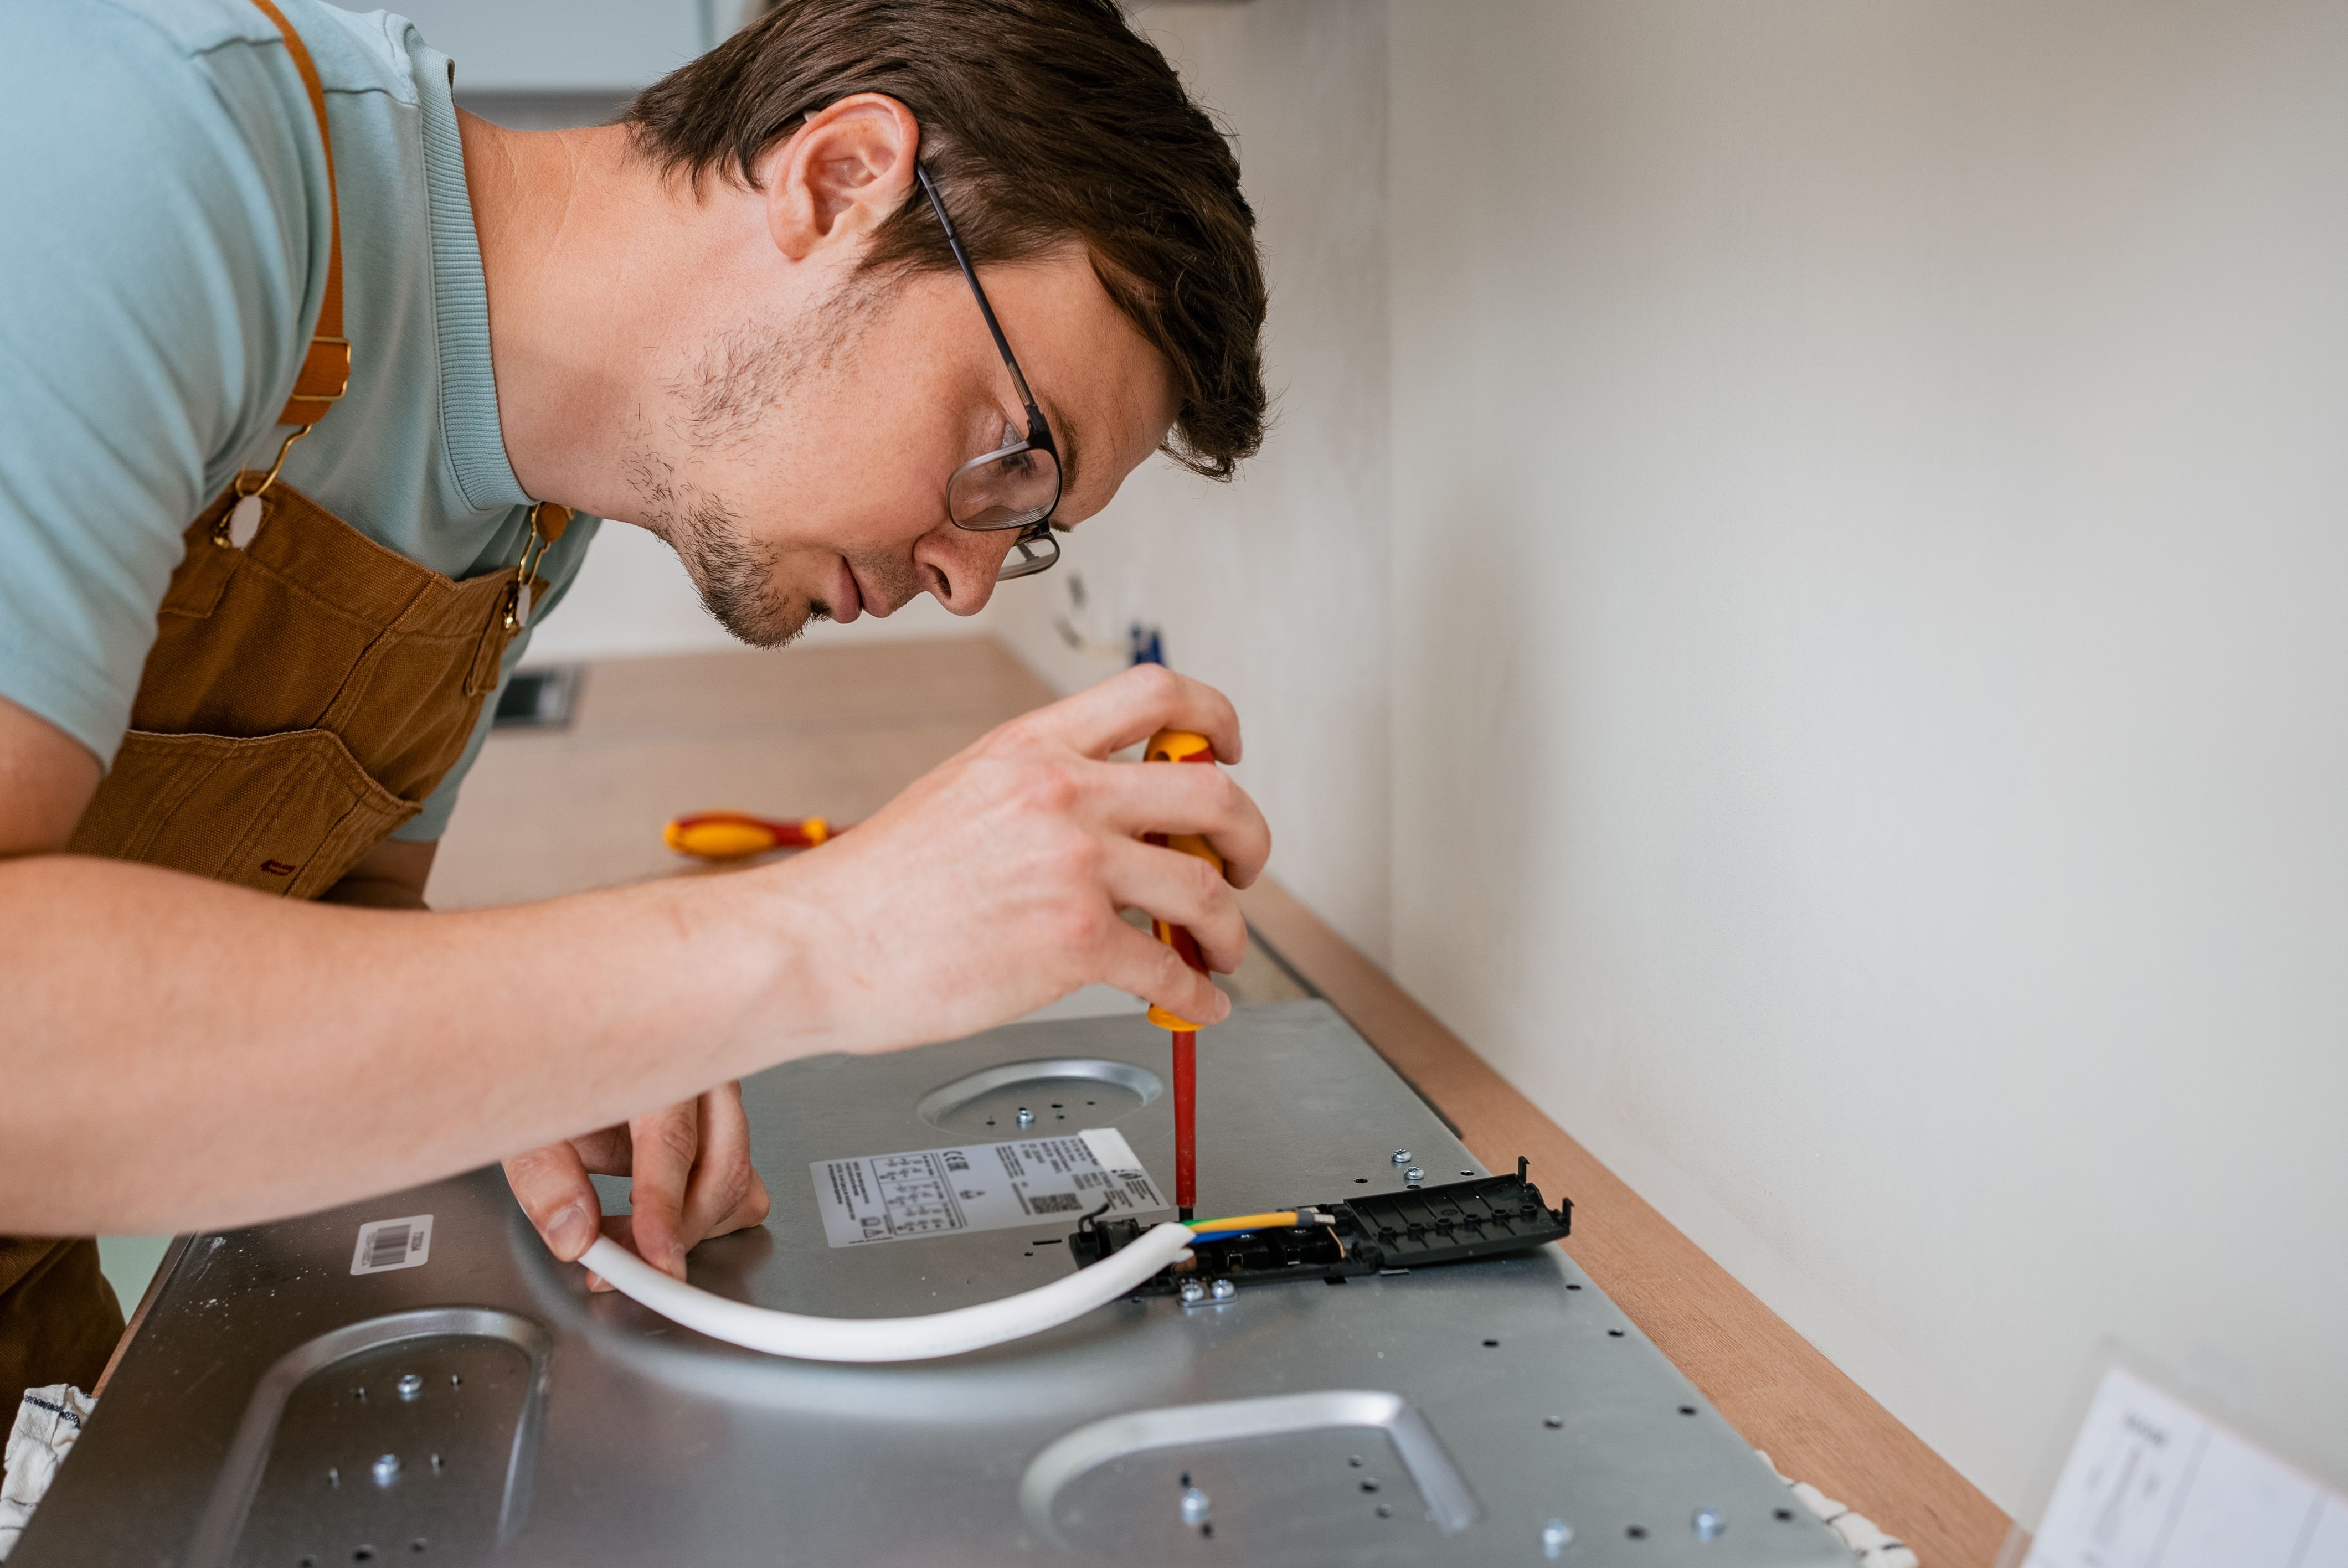
Begin soldering components carefully, applying heat only as necessary to avoid damaging them. If you're unsure about a connection, use a multimeter to test continuity and ensure everything is functioning as expected.
Final Testing and Troubleshooting
Once all components are installed, it's time to test your circuit. Power on the device and observe its behavior. If something isn't working, revisit your connections and check for solder bridges or misplaced components.
Troubleshooting can be challenging, but patience and methodical checking will lead to success. Use your multimeter to verify voltages and continuity across the circuit, making adjustments as needed.
Conclusion: Enjoy Your DIY Project
With careful preparation and attention to detail, installing electronic components can be a rewarding DIY endeavor. Remember, safety and precision are key to success. Enjoy the satisfaction of bringing your electronic creations to life!